Views: 0 Author: Site Editor Publish Time: 2025-10-23 Origin: Site


In the field of precision manufacturing, the Swiss-type CNC lathe has become synonymous with exceptional accuracy and efficiency.
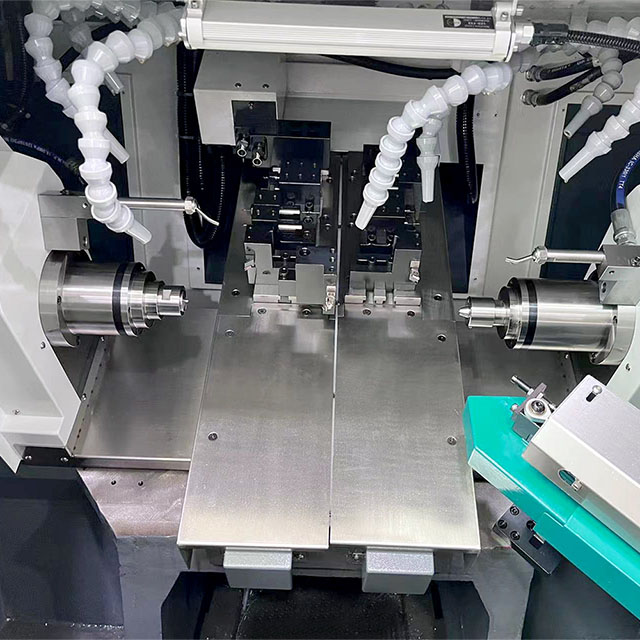
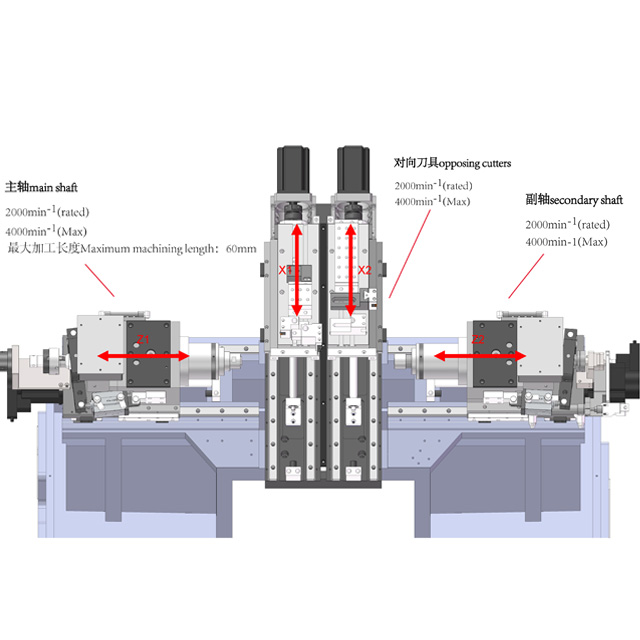
Its unique sliding headstock design and dual-spindle structure allow for simultaneous machining operations, significantly improving productivity.
However, maintaining consistent spindle movement accuracy—both for the primary and auxiliary (sub) spindles—is critical.
Even a deviation of a few microns can affect part quality, surface finish, and dimensional consistency. That’s why spindle accuracy testing is an essential process in both machine commissioning and quality validation.

The primary goal of spindle movement accuracy testing is to ensure the alignment, stability, and synchronization of both spindles under real machining conditions.
This testing verifies several performance parameters:
Concentricity — Alignment between the primary and sub-spindle axes
Repeatability — Consistency of spindle positioning during multiple cycles
Synchronization accuracy — Timing precision when both spindles rotate simultaneously
Thermal stability — Precision retention during extended operation
These factors directly influence the machining accuracy and longevity of the CNC system.
To measure and verify spindle performance, the following instruments and methods are typically used:
Precision dial indicators or laser interferometers
Spindle balancing and alignment tools
Precision test bars and runout gauges
Digital data acquisition systems
Testing Process Overview:
Preheat and stabilize the machine to eliminate thermal expansion effects.
Measure radial and axial runout of both spindles.
Check spindle alignment using a precision test bar.
Conduct synchronized rotation tests to assess phase accuracy.
Record data and analyze deviations against machine specifications (e.g., ±2 μm).
This process ensures every spindle movement remains within tolerance, guaranteeing reliable performance during high-precision turning operations.
Comprehensive accuracy testing reveals that Swiss-type CNC lathes maintain exceptional stability even at high spindle speeds.
The radial deviation of both spindles typically remains below 2 microns, while synchronization error is less than 0.001°, meeting or exceeding international standards for micro-precision machining.
Additionally, thermal drift tests confirm that the machine’s structural design and compensation algorithms effectively minimize heat-induced errors, further enhancing long-term accuracy.

Spindle movement accuracy testing is more than a calibration step—it’s a commitment to precision.
By verifying the exact performance of both primary and auxiliary spindles, manufacturers can ensure stable, repeatable results across complex, high-tolerance components.
In precision CNC machining, every micron matters—and true excellence begins with accurate testing.

